
8 Oil Painting Tips to Save You Time and Disaster.
- Jess MacGregor

- Jul 2, 2015
- 3 min read
Updated: Dec 21, 2022

Ahhh oil painting. The paint used by the old masters. Rich, buttery, smooth and vibrant. And yeah, it’s a little smelly. Painting with oil is incredibly rewarding, but it can also be a little intimidating. But fear not fellow art nerd, we’ve compiled some oil painting tips from our Headmaster Fei Lu to help you avoid disaster and save time, too!
Tip #1: Avoid Starting on White

While it’s tempting to paint directly on a blank canvas, we suggest you don’t do this. Take the time to tone your canvas. What is toning? It means to paint a thin wash of colour on your canvas before you start a painting. Toning the canvas is important because it gives your canvas an even layer of colour and helps you mix colours accurately. The eye is easily tricked by a stark white canvas.


Tip #2: Use Big Brushes

A common mistake in painting is using a tiny little brush. It’s easy to get lost in the details and focus too much on small areas. Don’t be afraid to bust out those big brushes! A bigger brush will help you block in shapes and values. Building the structure of the painting is crucial -- you can go in and add the smaller details later.
Tip #3: Don't Rush

We know how exciting it is when a painting is finished and you can step back, smile and appreciate your hard work. But don’t rush to get there. Work slowly and methodically. Oil Painting is quite a process, and unlike acrylic, it takes time to dry before the next layer is applied. You can start several oil paintings at once and work on them as a series or in staggered intervals.
Tip #4: Make Every Brushstroke Count

Each and every brushstroke has a purpose. Don’t just slap the paint on and hope it will look good. Think about each stroke you apply and how you're putting them down. Is it a flick of a brush, a light tickling of the canvas, or a bold smear with a palette knife? Use a variety of strokes to create textures, shapes and values. If you study masters like John Singer Sargent, you'll notice that every brushstroke has a different rhythm, purpose and feeling. If your strokes don’t have a reason to be there, your painting will look overworked. Luckily, you can keep adding layers!
Tip #5: Spread, Don't Scrub.
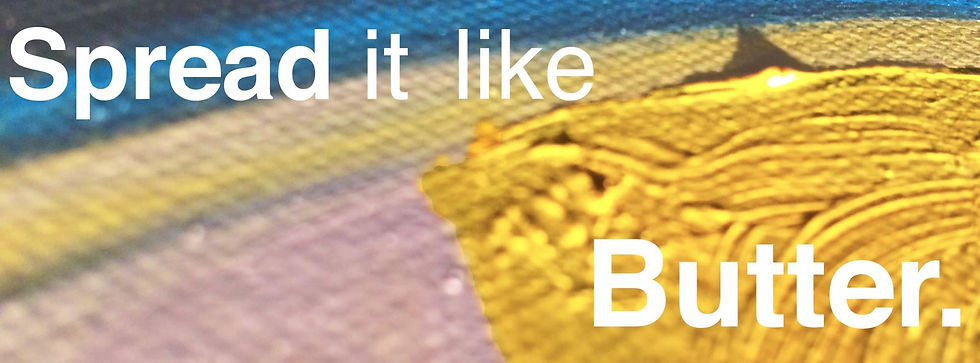
Have you noticed oil paint has an almost buttery texture? It’s smooth and spreadable, just like butter (however, some colours can be toxic, unlike butter!) Keep its texture in mind as you paint. Avoid scrubbing paint around the canvas in the layer stages of the painting -- spread it on smoothly to achieve beautiful, purposeful brushstrokes. If your painting dries and you don't like the texture, use sandpaper to smooth it out before the next layer.
Tip #6: Use Rags, Not Paper Towels

Brushes covered in oil paint get goopy fast. Make sure to have a rag nearby so you can wipe your dirty brushes before switching colours. Rags are extremely handy for removing paint off the canvas and also great for glazing. And before you dunk your brushes in solvent, make sure most of the paint is wiped off the brush first. This will help keep your solvent clean and your brushes in good shape. Using rags will prevent paper fibres from sticking on your canvas. Plus, it's a great way to reuse old clothing!
Tip #7: Fresh Eyes are Key.

Breaks are allowed! It’s easy to get sucked into a painting and emerge hours later, tired and annoyed. Take the time to step back from the painting and look at it with fresh eyes. Squint your eyes and look at the big picture. Turn it upside down and look some more. Ask a friend for a critique. This will help you see potential problem areas.
Tip #8: Know When to Stop

It can be hard sometimes to know when a painting is complete. But the more you add and poke and prod, the more overworked your painting may look. Don’t obsess over every little detail. Sometimes capturing the "feeling" of the subject is more important than the accuracy.

We love painting with oil here at Winged Canvas, and we hope that these tips will help you love it too! If you’re looking for a little more instruction, take a look at our art mentorship with Fei, where you work directly with an artist mentor to gain customized advanced learning! Want to check out more general painting classes? We offer opportunities to study everything stretching from watercolour to acrylic painting!


.png)
.png)
.png)
.png)
.png)
.png)

